Step 3: Build email verification
In this article
Note
This is a continuation step of the Getting started with ASK on ASP.NET Core Web API walkthrough. To see the concepts explained here in action, copy over the code blocks below to the relevant files/folders of the SuperCRM project developed in the earlier step, or else you can get the previous step code from here.
Why verify?
Verifying email is a necesity to ensure user can recover his account if he forgets the password, and that he hasn’t accidentally entered an incorrect email which would mean the recovery email can end up in someone else’s inbox, exposing user’s entire account.
For the above critical reasons, email verification workflow must ensure:
- Access to the account is limited to only a few operations until the user verifies the email.
- Every time user changes the email, he must verify it before continuing.
ASK’s user verification feature helps you enforce the above requirements.
Send verification email upon sign up
Here we add ‘send verification email’ to the SignUp operation we built in the previous step. We also show a simple yet working logic to send the verification email via Gmail.
Tip
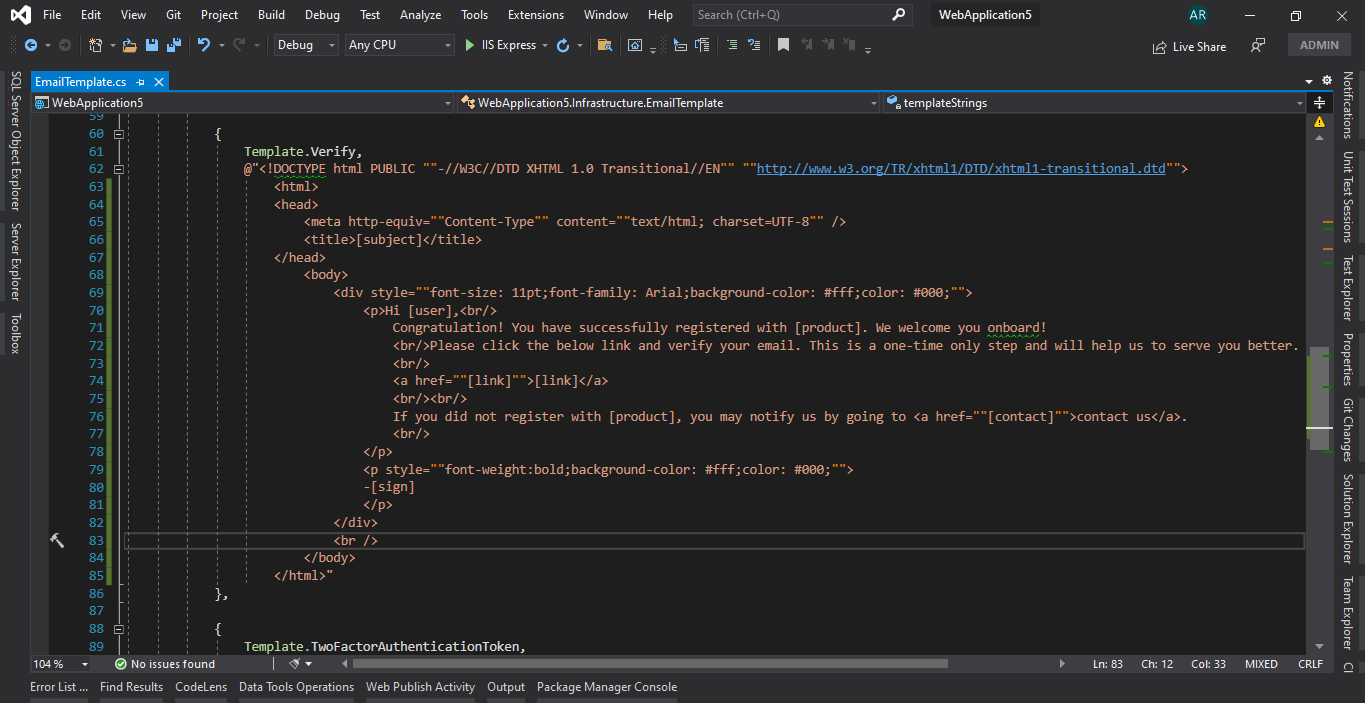
ASK’s starter and Premium source packages come with a modular, template-based email component with support for multiple providers including Gmail, Outlook, Mailgun, SendGrid etc. (new providers can be added in code or via config by providing SMTP network details (say for Amazon SES) and credentials).
Add the SendVerificationMailAsync call to the SignUp action method in the UserController:
using System;
using System.Net;
using System.Net.Mail;
...
[HttpPost]
[AllowAnonymous]
[Route("sign-up")]
public async Task<BaseResponse> SignUp(SignUp model)
{
	...
	if (await this.UserService.CreateAccountAsync(dbUser))
	{
		await SendVerificationMailAsync(dbUser);
		await this.authSessionProvider.LoginAsync(model.Email, model.Password, false, this.SecuritySettings.LetSuspendedAuthenticate);
	...
}

private async Task SendVerificationMailAsync(DbUser user)
{
	// to use Gmail, you need to enable "Less secure app access" etc. for more information, visit https://support.google.com/a/answer/176600?hl=en#zippy=%2Cuse-the-restricted-gmail-smtp-server%2Cuse-the-gmail-smtp-server
	var username = "<YourGMailSmtpUsername>";
	var password = "<YourGMailSmtpPassword>";
	var host = "smtp.gmail.com";
	var verificationUrl = $"<verificationUrl>/{user.VerificationToken}";

	var mail = new MailMessage { From = new MailAddress(username) };
	mail.To.Add(user.Username);
	mail.Subject = "Verify your email";
	mail.Body = $@"<p>Hi {user.Name},<br/>Please click the link below to verify your email.<br/><a href='{verificationUrl}'>{verificationUrl}</a><br/>Thank you!</p>";
	mail.IsBodyHtml = true;

	var smtp = new SmtpClient(host, 587)
	{
	Credentials = new NetworkCredential(username, password),
		EnableSsl = true
	};

	await smtp.SendMailAsync(mail).ConfigureAwait(false);
}
...
Verification Operations
Verify model
Add the following code as Verify.cs into the folder Models:
using System.ComponentModel.DataAnnotations;

namespace SuperCRM.Models
{
	public class Verify
	{
		[Required]
		public string Token { get; set; }
	}
}
The operations
Add the below action methods to the UserController:
[HttpPost]
[AllowAnonymous]
[Route("verify")]
public async Task<BaseResponse> Verify(Verify model)
{
	if (ModelState.IsValid)
	{
		switch (await this.UserService.VerifyAccountAsync(model.Token))
		{
			case OpResult.Success:
				return Ok();
			case OpResult.AlreadyDone:
				return Error(OpResult.AlreadyDone, "Account already verified");
			default:
				return Error(AppOpResult.InvalidToken, "Verification was not successful; please try again.");
		}
	}

	return Error();
}

[HttpPost]
[VerificationNotRequired, SkipActivityAuthorization]
[Route("self/verification-email")]
public async Task<BaseResponse> ResendVerificationEmail()
{
	if (this.UserService.IsAuthenticated && this.UserService.IsVerified)
	{
		return Error(OpResult.AlreadyDone, "Account already verified");
	}

	await SendVerificationMailAsync(this.UserService.CurrentUser);
	return Ok();
}
The verify prompt page on the front-end for the email verification should have an option to resend the email and for that we have ResendVerificationEmail operation. It should also enable user to modify the email address if he so wishes from the account settings section (to fix any typo/etc. in the provided email address).
Tip
Account settings operations are out of the scope of this tutorial. However, with both starter and Premium source packages you get end-to-end implementation of these operations as source code to change username (email), password, basic details and even more in the Premium package.
In ResendVerificationEmail operation, we only resend if the user isn’t verified yet.
The Verify operation is the one that gets invoked when the user clicks on the link in the email. It must match with user’s VerificationToken property (in case you want to re-generate the token, you should use GenerateVerificationToken method).
If VerifyAccount doesn’t find a user by the specified token, verification fails with InvalidToken (see the the section on defining custom error codes in the previous step) (the front-end should redirect the user to the verify prompt page). Otherwise, it updates user’s verified status to true and the restriction on the user to use most functions of the web app is lifted automatically.
Important
As we mentioned in the previous step, the Zero Trust nature of ASK’s security pipeline considers all checks as necessary for every operation, and gives you extensive options to then selectively opt out operations from checks not needed. We’ve seen a few of such options being used in the above operations as follows:
- VerificationNotRequiredAttribute, used on
ResendVerificationEmailoperation, opts out the operation from verified user check. Obviously, we want these operations related to verification workflow to be allowed in case user isn’t verified. - SkipActivityAuthorization opts out the associated operation –
ResendVerificationEmail– from activity data authorization (ADA). ADA is the permit-based access control mechanism, but since this operation is accessible to all logged in users, we don’t need ADA check for it. (We’ll learn extensively about ADA starting from [step on building contact management]). - The
Verifyoperation marked with AllowAnonymousAttribute is accessible to all and hence doesn’t need authorization – part of which the verification check is performed.
Now we are ready to run the app and verify all the changes of this step.
Zero Trust protection: handling ‘NotVerified’ error
If an operation – not opted out of verefication (using attributes such as given in the previous section) – is invoked with an unverified user identity, the security pipeline disallows the request to proceed. An error with NotVerified ErrorCode is written to the response as already explained in the previous step (revisit it to recap).
Get it without writing a line of code
Both Starter and Premium source packages come with complete implementation of email verification operations including the actions, email template and support for multiple SMTP email providers (MailGun/SendGrid/Amazon SES/Gmail/etc.) as source code so you don’t have to write them yourself. These are generally more robust and modular. For instance, a proper handling of error in sending email and showing a user friendly message.
Download the sample
Refer the working sample project for this step of the tutorial on GitHub. Download the tutorial repo containing a stand-alone sample project for each step to try it locally on your PC.
Live demo
Visit https://SuperCRM-WebApi.ASPSecurityKit.net to play with a live demo built based on this tutorial.